When given the choice between using a vector icon or a static image, it’s a good idea to go with the vector. They’re small and fast to load, and they can scale to any size without a loss of resolution. Font Awesome is a superb library of vector icons that you can use on your websites, and they probably have almost any shape or brand that you’d need. And best of all? It’s free. Second to best of all, it’s easy.
Font Awesome WordPress Icons
Using the Font Awesome library on your WordPress site is relatively painless. Once you follow these simple steps, you’ll be able to lower your page-load time and create some really clean, crisp designs using these icons as part of your work.
One thing to remember is that (most of the time) the Font Awesome icons are going to be delivered to your site as actual fonts. Hence the name Font Awesome. You will be able to style and manipulate them in every way that you normally could a font character, using CSS via @font-face and the Font Awesome font-family.
Because of that, you won’t have to worry about sizing or spacing for each individual browser or viewport. If it sounds great, that’s because it is. And here’s how you do it:
Installing Font Awesome
While there is a manual way to install and use Font Awesome, there’s a better way for WordPress users. The fine folks over at FA have released an official Font Awesome WordPress plugin, and it works beautifully.

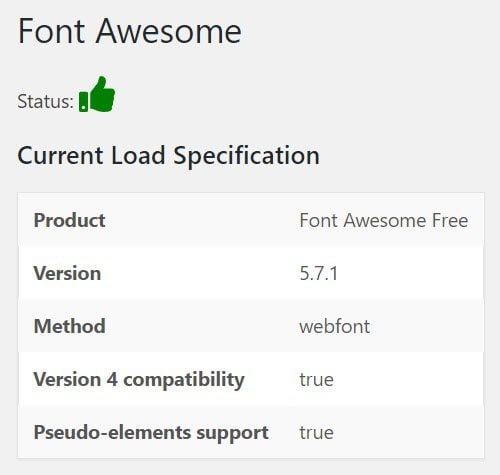
With the plugin installed and activated, you now have access to the [[icon name]] shortcode as well as the HTML snippets. As long as you keep the handy-dandy FA icon list around so you know exactly what icon you need. You will see on the plugin’s settings page (found under Settings – Font Awesome) how things are set up by default. In general, these are fine to keep and use. Most people won’t need anything else.

READ FULL ARTICLE FROM THE SOURCE: AT HTTPS://ELEGANTTHEMES.COM/BLOG/
The post How to Use Font Awesome On Your WordPress Website appeared first on Elegant Themes Blog.
————————————–
